2026.09.01
 Industry News
Content
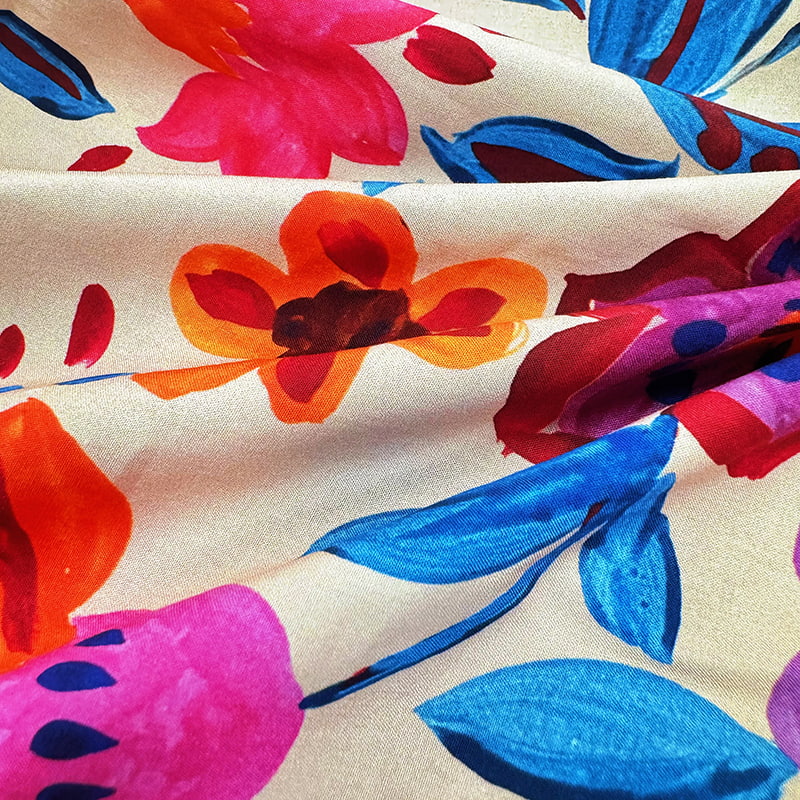
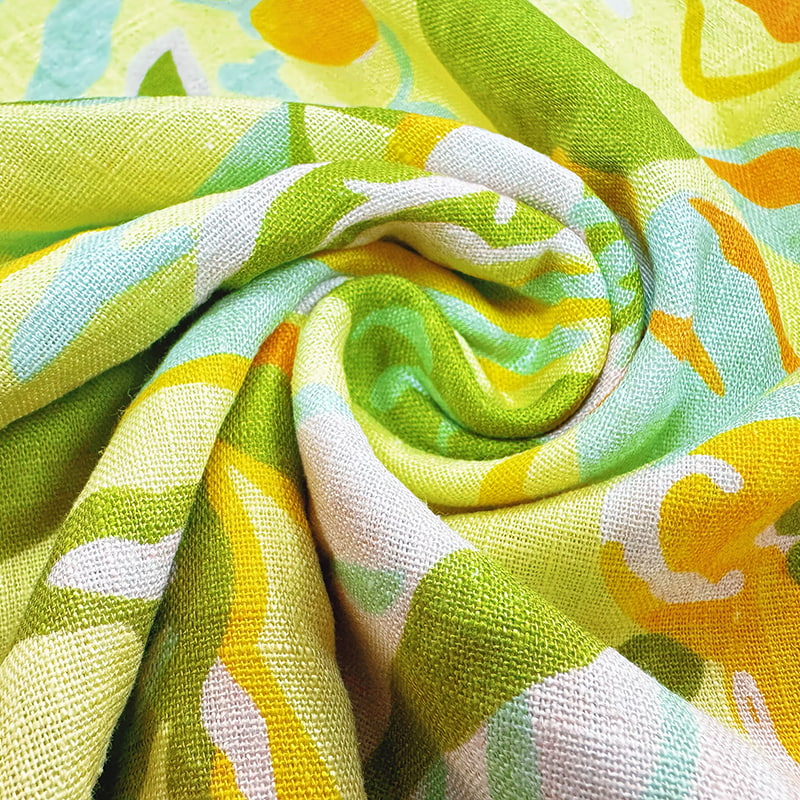
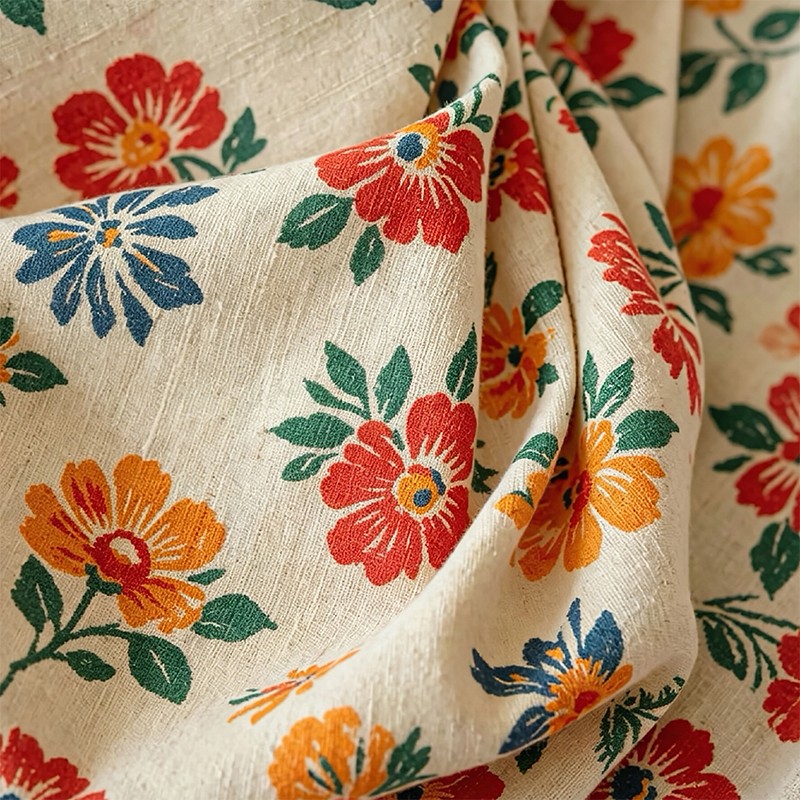
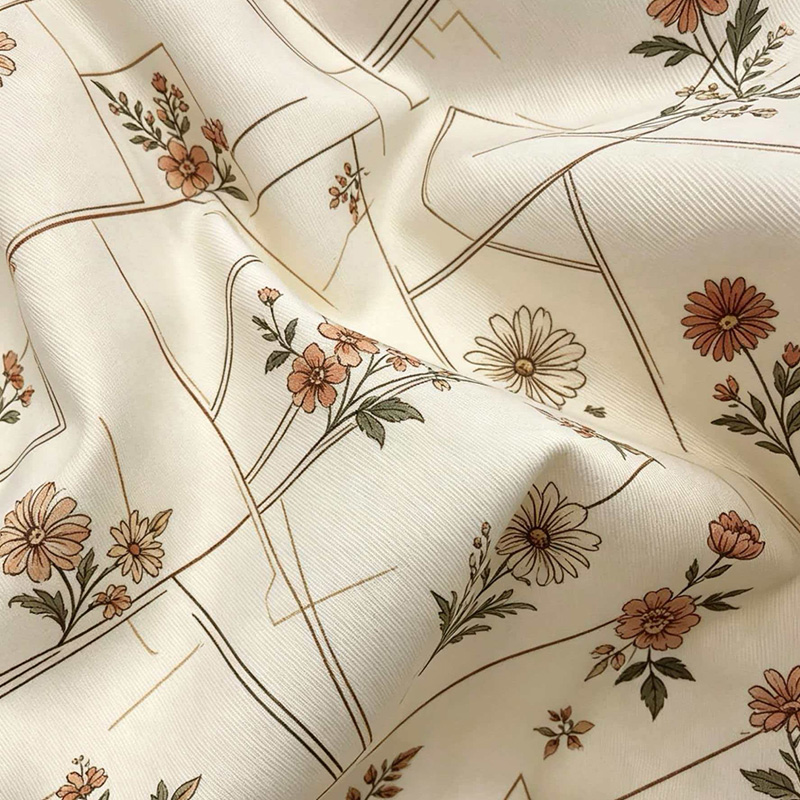
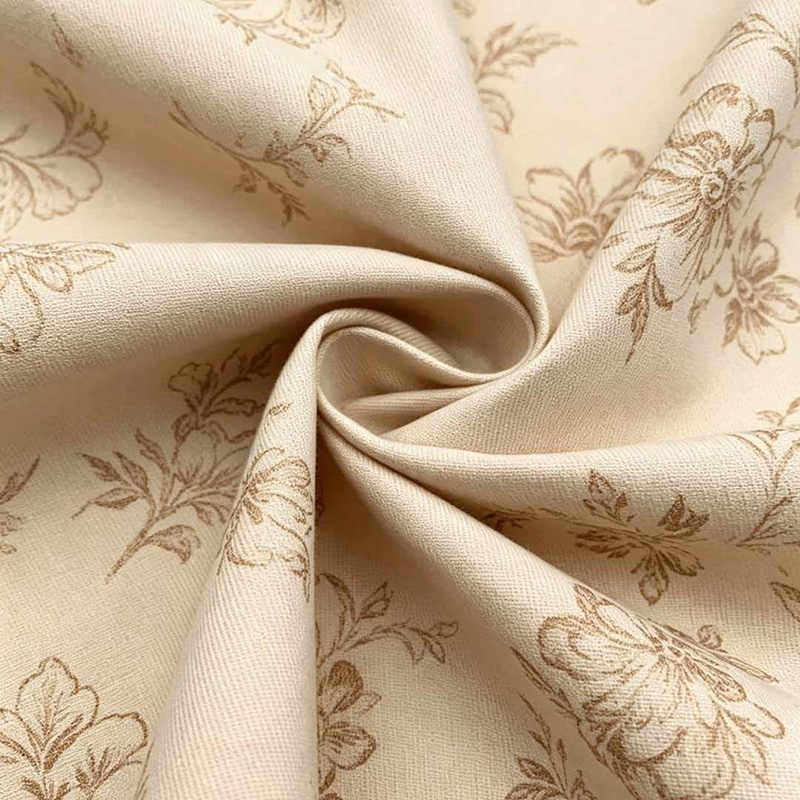
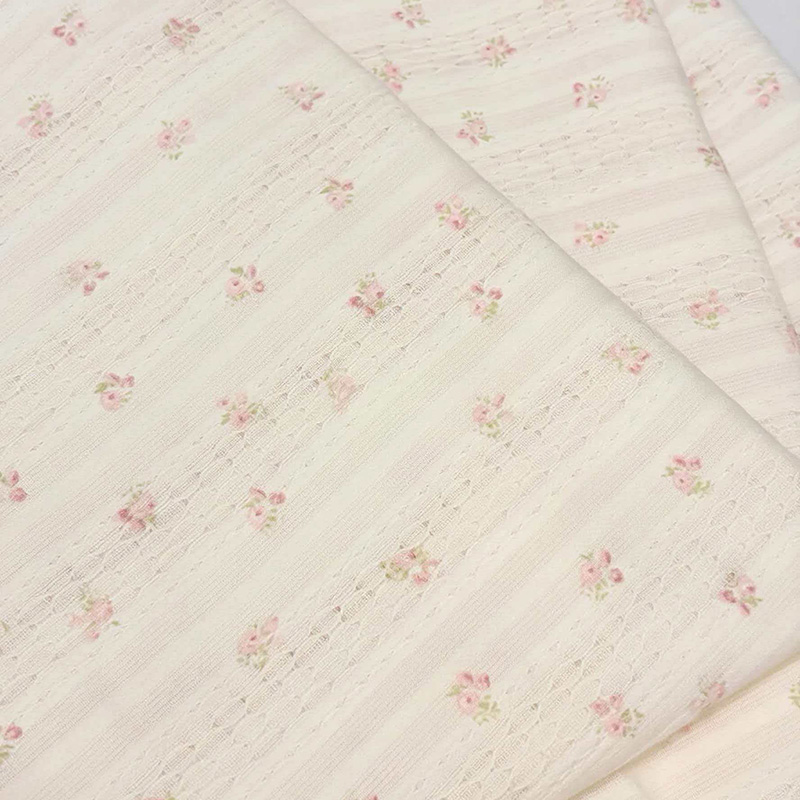
Selecting the correct fabric printing method directly impacts color yield, hand-feel, and wash fastness. For custom printed fabric orders, the substrate dictates the technology. Below is the decision-making matrix derived from our production floor data.
Ideal Substrate: 100% Combed Ring-Spun Cotton (Ne 20-40)
Ink Chemistry: Reactive / Water-based Pigment
Ideal Substrate: Cotton/Polyester Blends, Nylon, Denim
Ink Chemistry: Pigment + Hot-Melt Adhesive Powder
Ideal Substrate: 100% Polyester (Knit/Woven) & Polymer-Coated Surfaces
Ink Chemistry: Disperse Dye (Gasification at 200°C)
Ideal Substrate: Heavyweight Linen, Organic Cotton, Silk
Ink Chemistry: Natural Dyes / Reactive Paste
For personalized printed fabric, the bonding mechanism defines longevity. Reactive dyes form covalent bonds with cellulose (-OH groups). Pigment inks rely on resin binders that encapsulate the colorant on the fiber surface. Disperse dyes physically dissolve into synthetic polymer chains under high pressure. Our factory utilizes a dual-curing system that optimizes the dwell time and temperature curves for each chemistry, ensuring zero dye migration.
| Fabric Type | Padding Pick-up (%) | Drying Temp (°C) |
| Cotton (Combed) | 65-70% | 110-120 |
| Polyester (Micro) | N/A (Sublimation) | N/A |
| Linen Blend | 55-60% | 100-110 |
When customers ask “Can I print my own fabric at home?”, they often overlook dimensional stability. Home printers lack tension control. Industrial fabric printing lines use pin-stenter frames to maintain width tolerance within ±1%. For custom printed fabric rolls exceeding 100 meters, we apply a relaxation steamer to remove internal stress before printing, which reduces post-wash shrinkage from 5% to <0.8%.
Professional custom fabric printing must withstand global logistics and end-user usage. We implement a 6-step quality gate. The following data represents standard test results for our personalized printed fabric collections compared to industry baselines.
* Grade 5 = Excellent, Grade 1 = Poor. Our custom printed fabric exceeds standard retail requirements by 15% in wet-rubbing resistance.
Many designers start by asking “How do I get a picture printed on fabric?” using an inkjet printer at home. However, scaling to 500+ meters requires industrial infrastructure. Below is a comparative cost-efficiency curve based on order volume.
* Pricing includes material, ink, and post-processing. Industrial fabric printing drastically reduces marginal cost through bulk ink purchasing and high-speed rotary systems.
Our personalized printed fabric line uses zero-liquid discharge (ZLD) systems, recycling 95% of cooling water back into the pre-treatment stage.
Whether you are asking “how can you print on fabric” for a small batch or a massive roll, defects occur. Here is our factory’s internal diagnostic guide.
Cause: Over-wetting or insufficient pre-treatment drying.
Solution: Increase padding pressure to reduce pick-up %; raise drying oven temp to 130°C.
Cause: Insufficient binder cross-linking.
Solution: Increase curing dwell time by 30 seconds or add 2% more cross-linker to the custom printed fabric recipe.
Cause: Nozzle clogging or inconsistent fabric tension.
Solution: For home printing, check the how to print on fabric with printer guide—run a nozzle check. For industrial, adjust the infeed dancer roller tension to 3.5 N.
Design Intake
(300dpi, CMYK, Repeating Pattern)
Fabric Sourcing
(Greige goods inspection)
Pre-treatment & Stenter
(Resin padding + drying)
Digital Printing
(Single-pass or multi-pass)
Steaming / Curing
(Fixation & polymerization)
Wash-off & Finishing
(Removing thickeners)
Quality Inspection
(Color matching & defects)
Roll Packing & Dispatch
(Export carton / polybag)
For designers wondering “how do you print photos onto fabric” with photographic accuracy, we apply a specialized ICC profile that maps RGB values to the specific textile substrate, ensuring that shadows retain detail and highlights do not wash out.
While digital custom fabric printing dominates speed, block print fabric offers an unmatched artisan aesthetic. Our workshop combines traditional hand-carved teak wood blocks with eco-friendly natural indigo and madder dyes. Each impression creates a slight variation, making every meter of personalized printed fabric a collectible piece.
We have modernized the block print fabric process by using laser-engraved polymer blocks for intricate 0.5mm fine lines, bridging the gap between handcraft and precision. This hybrid approach answers “how can you print on fabric” when the client desires the organic texture of artisan goods but requires consistency across 200-meter runs.
Wood: Teak / Polymer
Repeat size: 10-50 cm
Colors: 1-6 (Manual registration)
When users search “how to print photos on fabric”, they often use standard dye inks. However, pigment inks offer better UV resistance. If using a standard inkjet, apply a fabric fixative spray post-printing and heat-set with an iron for 3 minutes at 180°C to achieve 70% of industrial durability.
A common issue when asking “Can I print my own fabric at home?” is the stiff hand-feel from too much backing paper. Solution: use water-soluble stabilizer (WSS) that dissolves in the first wash, leaving the custom printed fabric soft to the touch.
Not all printers support fabric printing. Piezo-electric printheads (Epson-style) are preferred over thermal printheads (HP/Canon) because the lack of heat prevents ink clogging and allows thicker pigment particles to pass through. For serious home users, converting a dedicated A3 printer to a personalized printed fabric station yields the best ROI.
 Wholesale Digital Printed Fabric Manufacturers
 English
 中文简体
中文简体 Español
 عربى
عربى